Centos 7 Step by Step installation guide
Requirement for Centos .
A - You should have DVD or ISO image of Centos 7.
if you don't have you can download it from here .
B - You should have Virtual Machine or Base Machine
Let's move for Installation
1. Turn on your machine and insert your installation media like DVD, Pen Drive or ISO and boot from media .
2. Now you will get below screen here just select Install CentOS 7 and press enter .

3. Now select language according to your need and click on Continue

4. Now click on Date & Time as given in below screen.

5. Here you can select your time zone according to your need i'm selecting Asia/Kolkata and click on Done

6. Now Click on NETWORK & HOST NAME

7. HERE turn on Ethernet and change hostname and given below screenshots.


Note: if you will turn on Ethernet only and when you will reboot your server next time your server
will not connect with network so make sure click on Configure and check Automatically
connect to this network when it is available after that click on Done.


8. Now click on INSTALLATION DESTINATION and select disk where you want to install and
click on Done as given in below screenshots .


9. Now click on SOFTWARE SELECTION if you want to install additional packages.
like GUI, Administrator tools etc and click on Done


10. Now click on Begin Installation to start installation of CentOS 7 .
11. Now Click on ROOT PASSWORD to set root user password

12. Remember here you have to give password as suggested but if you are using weak password
then you have to click on Done twice.

13. Now click on Reboot and make sure you remove installation media

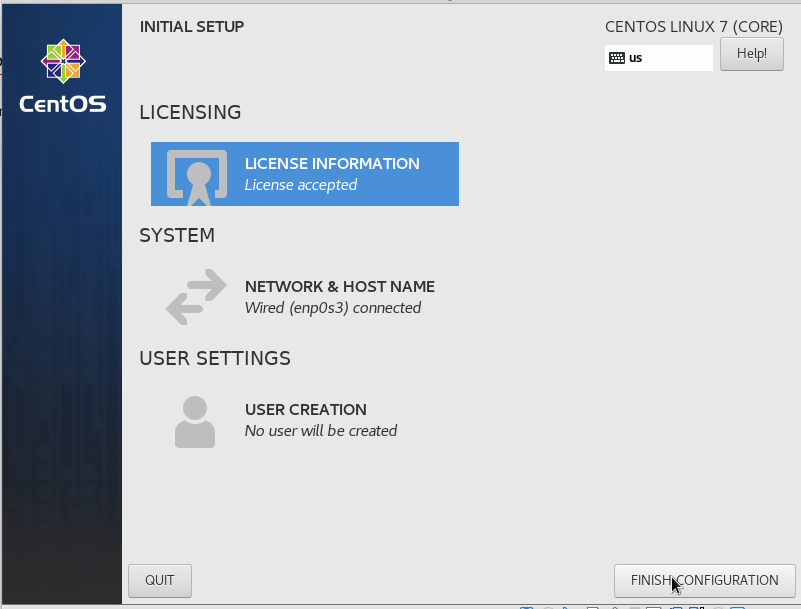
14. Now click on LICENSE INFORMATION

15. Here accept the license agreement and click on Done

16. Now click on FINISH CONFIGURATION
17. Click on Next

18. Click on Next - Next - Next


19. Now click on Skip or if you want to configure given account you can

20. If you have not created user account at the time of installation you have to create here as given
below after that click on Next and set password then click on Next


21. Now your server or desktop is ready for use click on Start Using CentOS Linux


Now Enjoy, if you have any query you can post comment.
No comments:
Post a Comment